Mastering the Art of Balayage: How to Do It Like a Pro
Are you looking to elevate your hair game with the latest trends in hair color? If so, then you must familiarize yourself with the balayage technique. This freehand hair coloring method gives a natural, sun-kissed look that is both modern and low-maintenance. In this comprehensive guide on balayage how to do it, you will find everything you need to know—from preparation to application and aftercare.
What is Balayage?
Balayage is a French word meaning "to sweep," which perfectly captures the technique's essence. This method involves painting the color onto the hair in a way that creates a graduated, natural-looking effect. Unlike traditional foiling, balayage allows for a more organic, softer finish. The result is a beautiful, dimensional look that can work for any hair type or length.
Why Choose Balayage?
There are many reasons to consider balayage for your next hair transformation:
- Low Maintenance: The gradual color transition means that as your hair grows, you won’t have to worry about harsh roots. It's perfect for those who want to spend less time at the salon.
- Customization: Balayage can be tailored to suit any hair type, length, and color. Whether you’re a blonde bombshell or a brunette beauty, balayage can enhance your natural beauty.
- Versatile Styles: You can achieve a variety of looks, from subtle highlights to bold colors, depending on your preference.
- Natural Look: The blended colors of balayage create a sun-kissed appearance that looks as if you’ve spent a good day in the sun.
Tools and Products Needed for Balayage
Before diving into the balayage how to do process, it's essential to gather the necessary tools and products:
- Balayage Brush: A good-quality brush is crucial for accurate application.
- Coloring Bowl: Use a non-metallic bowl to mix your bleach or color.
- Clips: Sectioning clips will help you manage your hair while you work.
- Foils (optional): Some stylists use foils to enhance the brightness of certain sections.
- Bleach/Lightening Powder: For creating highlights.
- Developer: This will activate the lightening process.
- Toner: To refine the color after bleaching.
- Gloves: Protect your hands during the process.
- Shampoo and Conditioner: Use sulfate-free products to maintain the integrity of balayage.
Step-by-Step Guide on How to Do Balayage
Now that you have everything ready, let's break down the balayage how to do process:
Step 1: Prepare Your Hair
Before you start coloring, ensure that your hair is clean and dry. It’s best to wash your hair 24 to 48 hours before coloring, as this allows your scalp’s natural oils to protect it during the bleaching process. Detangle your hair gently with a wide-tooth comb to avoid breakage.
Step 2: Section Your Hair
Divide your hair into four sections (front left, front right, back left, and back right). Secure each section with clips to make it easier to manage as you work. This helps maintain organization and allows you to focus on one area at a time.
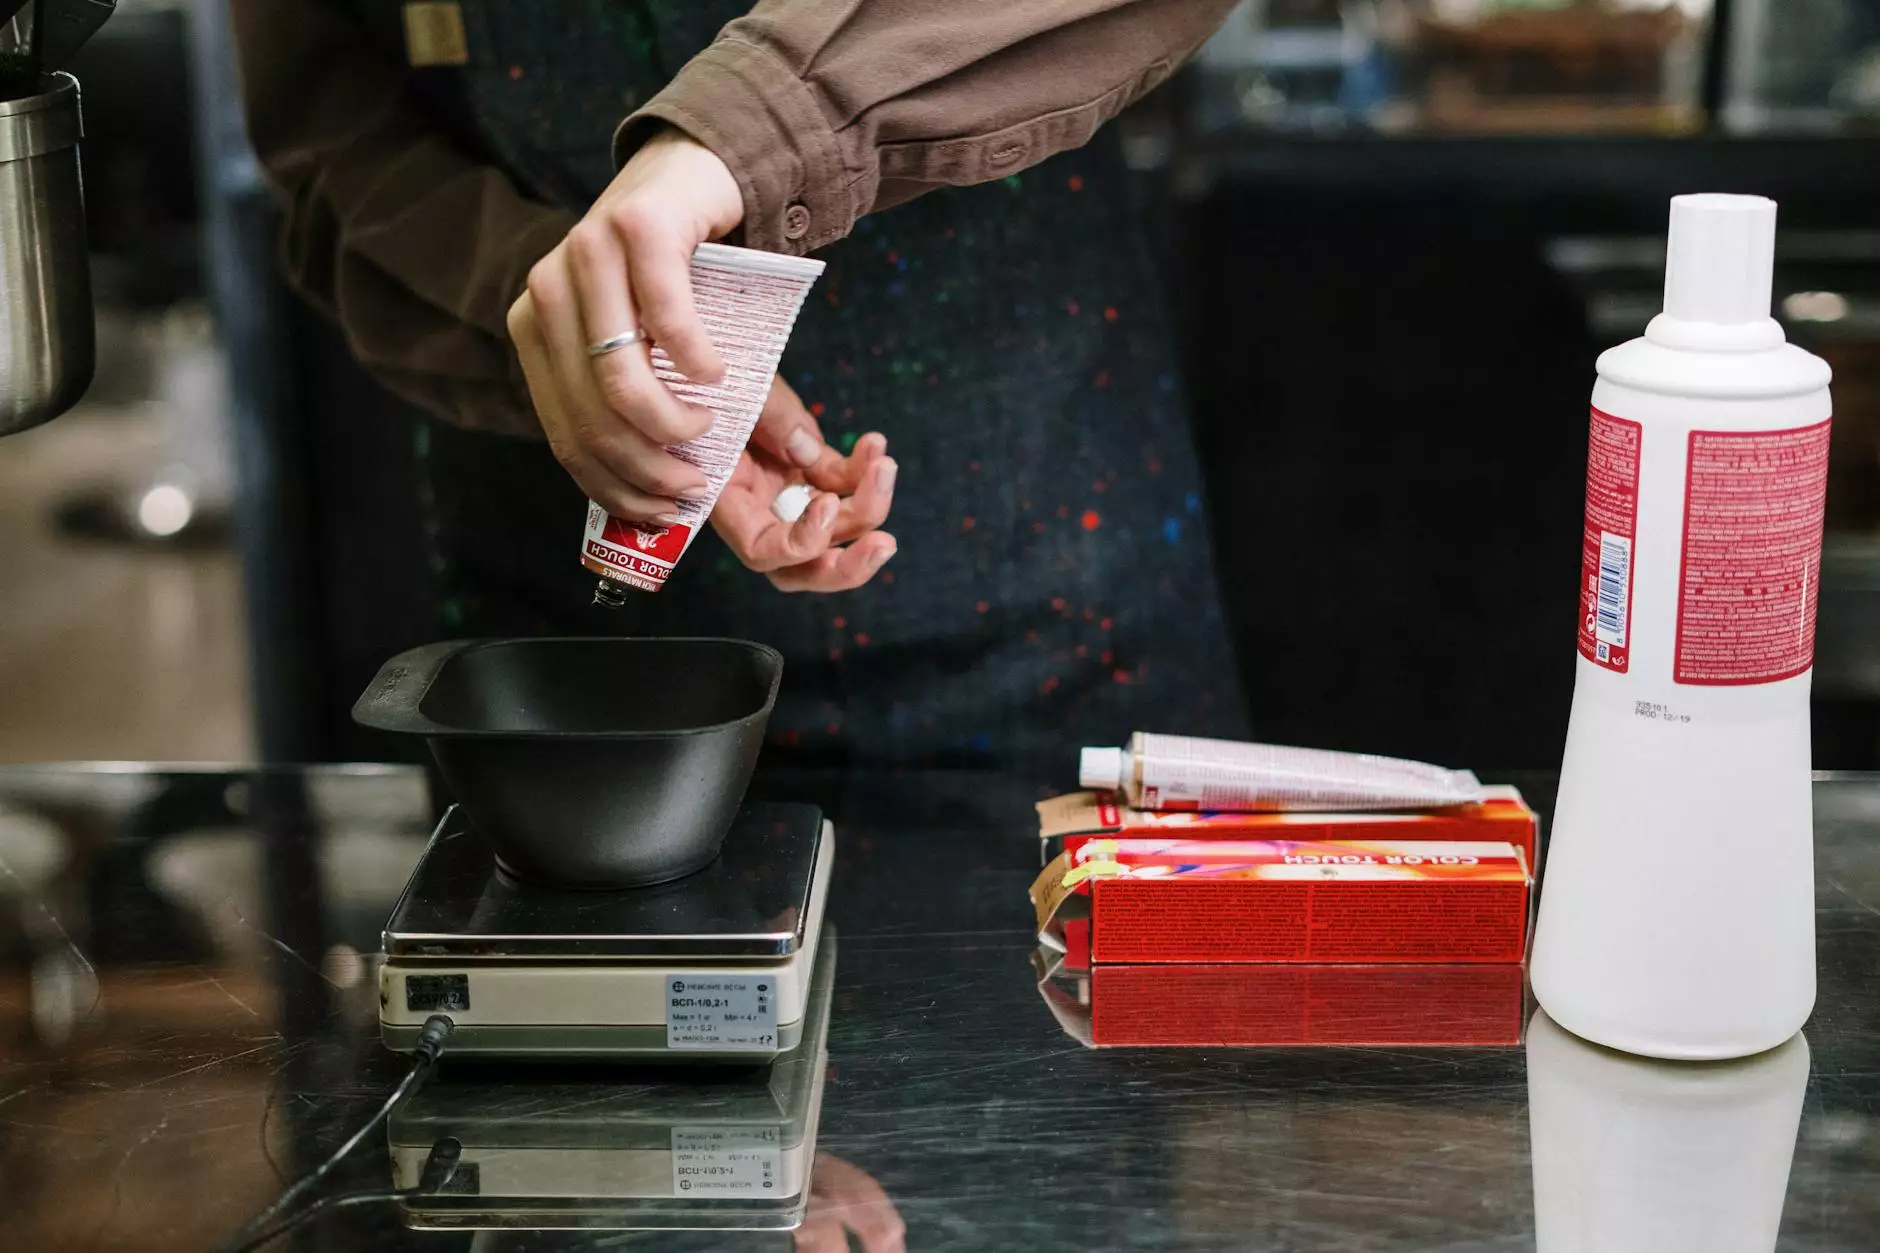
Step 3: Mix Your Bleach and Developer
In your non-metal mixing bowl, combine the bleaching powder with the developer according to the instructions on the packaging. The consistency should be creamy, similar to yogurt. This allows for easy application without dripping.
Step 4: Start Applying the Bleach
Using your balayage brush, begin applying the bleach to the mid-lengths and ends of your hair. The key is to use a sweeping motion, applying more product on the ends and less as you move up. Focus on creating a natural gradient. To create dimension and depth, consider leaving some sections untouched.
Step 5: Check the Development Time
After applying the bleach, the hair needs time to develop. Depending on your desired lightness and your hair type, this can take between 20 to 45 minutes. Be vigilant; checking your hair at intervals will help prevent over-processing.
Step 6: Rinse and Tone
Once you achieve your desired lightness, rinse out the bleach thoroughly with cool water. Follow up with a sulfate-free shampoo and conditioner to help restore moisture. If needed, apply a toner to neutralize any unwanted brassiness. Choose a toner based on the final color you wish to achieve; ask your stylist for recommendations.
Step 7: Aftercare
Maintaining balayage requires special attention to keep your hair healthy and vibrant:
- Use Color-Safe Products: Select shampoos and conditioners that are specifically designed for color-treated hair.
- Limit Heat Styling: Reduce the use of hair dryers, curling irons, and straighteners to prevent damage.
- Deep Conditioning: Incorporate deep conditioning treatments into your routine to maintain moisture.
- Regular Touch-Ups: Depending on your hair's growth, consider visiting your stylist every 10-12 weeks for touch-ups to maintain the balayage look.
Common Mistakes to Avoid When Doing Balayage
While balayage is a versatile and forgiving technique, avoid these common pitfalls:
- Applying Too Much Product: Using excessive bleach can lead to an unnatural look; moderation is key.
- Skipping the Test Strand: Always perform a strand test before full application to see how your hair reacts.
- Inconsistent Application: Ensure an even application to prevent patchiness or lines.
- Ignoring Maintenance: Proper aftercare is essential for keeping your balayage looking fresh.
Conclusion
In conclusion, mastering the balayage how to do technique can allow you to achieve stunning, natural-looking hair that enhances your features. Whether you're attempting this look at home or visiting a professional, understanding the fundamentals is crucial. At KG Hair Salon, our skilled stylists are ready to help you achieve your ideal balayage look, providing personalized consultations and expert techniques tailored to your unique style. Embrace the world of balayage and step out with confidence!